THE BLACK RIVER VALLEY MODEL RAILROAD WEB SITE
REBUILDING LIFE LIKE AUTOS
Like many model railroads, the Black River Valley Railroad is people and vehicle poor. With HO scale automobiles of good quality priced from $5.00 to $20.00 populating parking lots, streets and industries with scale cars gets to be expensive. I have picked up several of the low-end, read cheap, Life-Like autos for an average of $.75 each over the last few months. I decided to raise the level of detailing on the cars to make them more 'respectable' on the layout. My intent was not to make them rival Model-Power Minis, Busch/E.R. Models, or Woodland Scenics scale cars, but to make them 'good enough' at a viewing distance of 3-feet. What follows is a 'photo essay' of the steps and procedures I followed in an attempt to meet my goal.
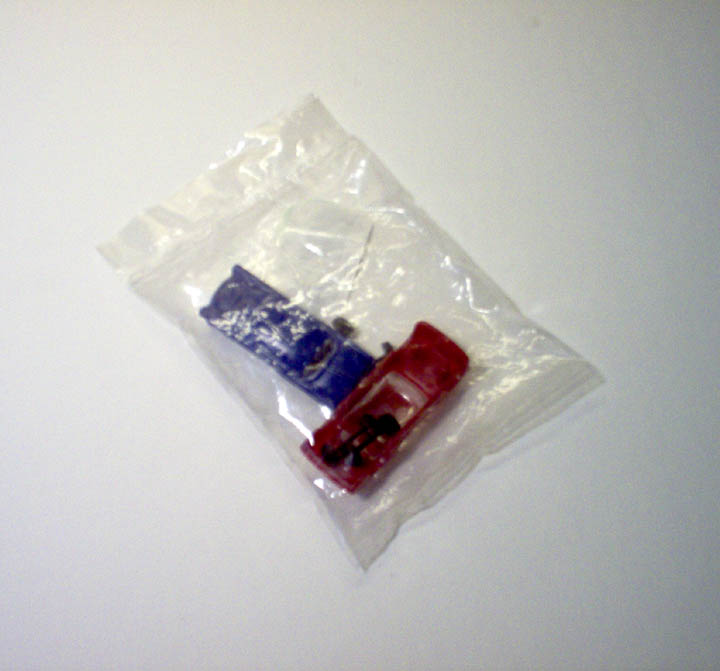
The low-end Life Like automobiles usually come two to a bag for about $1.50. Sometimes a couple of cars will come packed with a pickup truck. As you can see, the colors leave something to be desired.
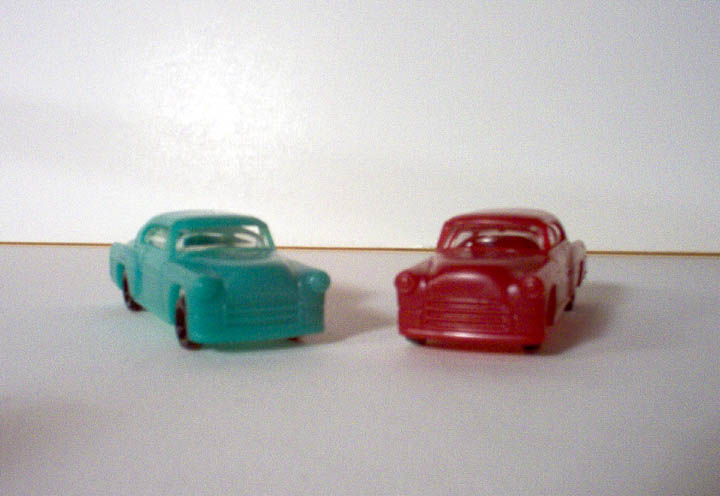
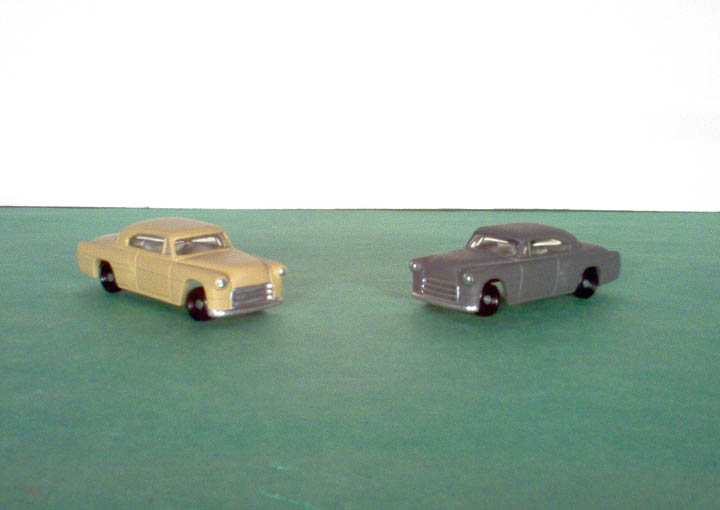
Here are two of the cars right out of the bag with the wheels in place. A basic automobile outline with wild 'fruit' colors, rudimentary tires and detail.
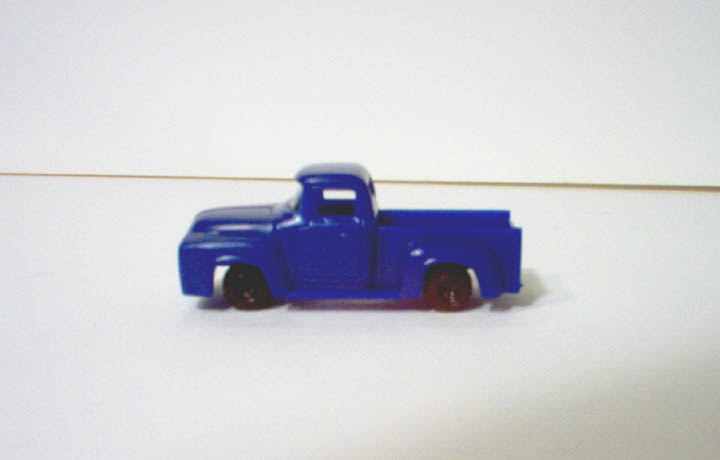
Here is my simple low end Life-Like pickup truck with the wheels in place. Little or no detail and a bad color.
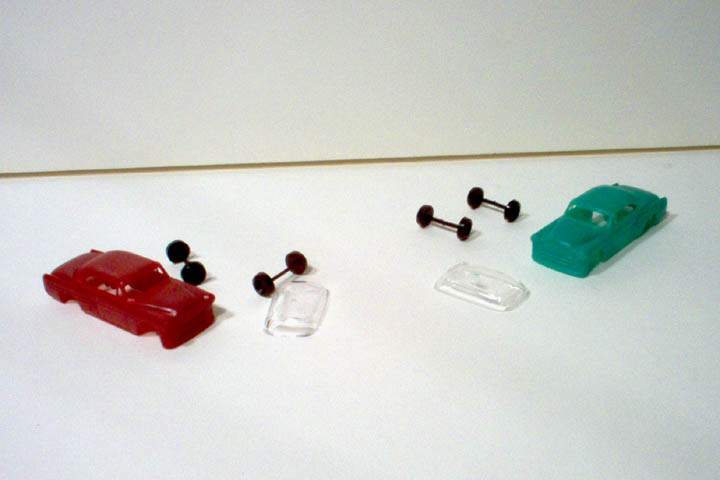
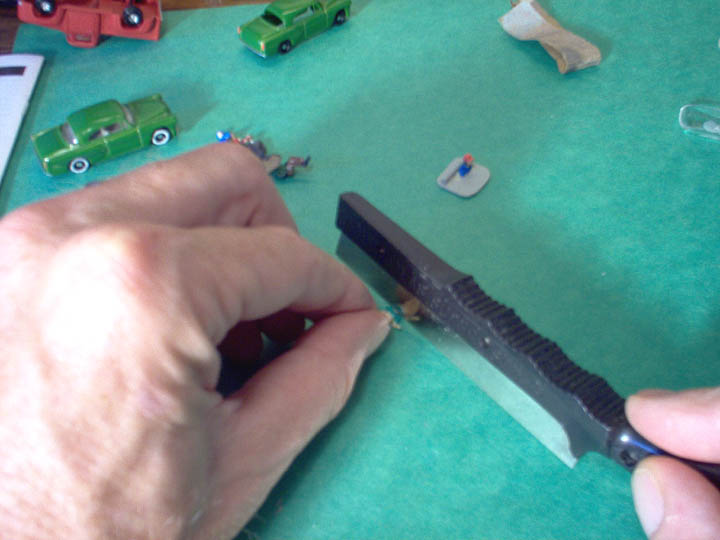
The two cars with the wheels and windows removed from the body shells.
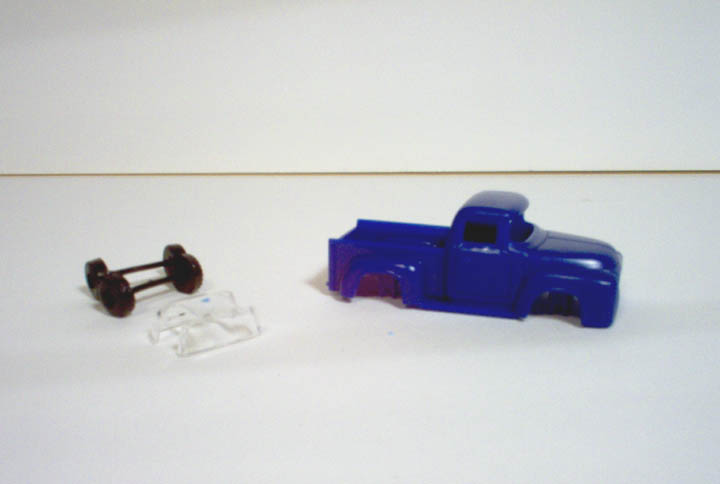
The blue pickup truck with the wheels and windows removed from the body shell.
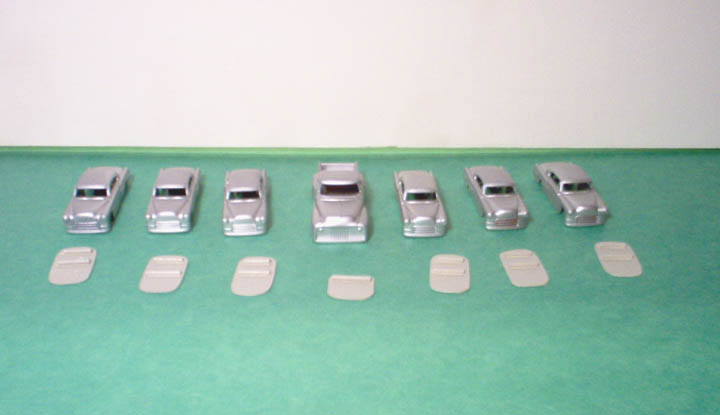
Here are all of the candidate car and truck body shells for the project in a row.
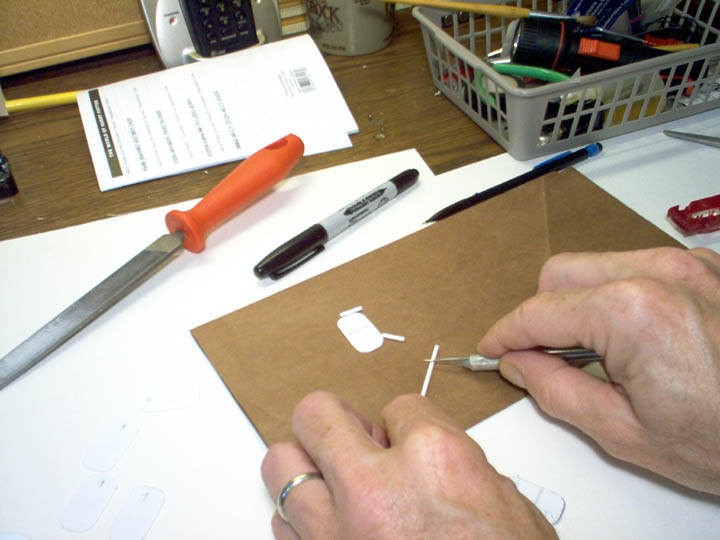
After disassembly the first step was to trace the outline of the base for my 'Mock Interior' on a piece of styrene stock. I used some .020-inch thick scrap I had on hand. The base turned out to be a lozenge shaped piece of styrene approximately, 1 1/16-inches long X 5/8-inches wide.
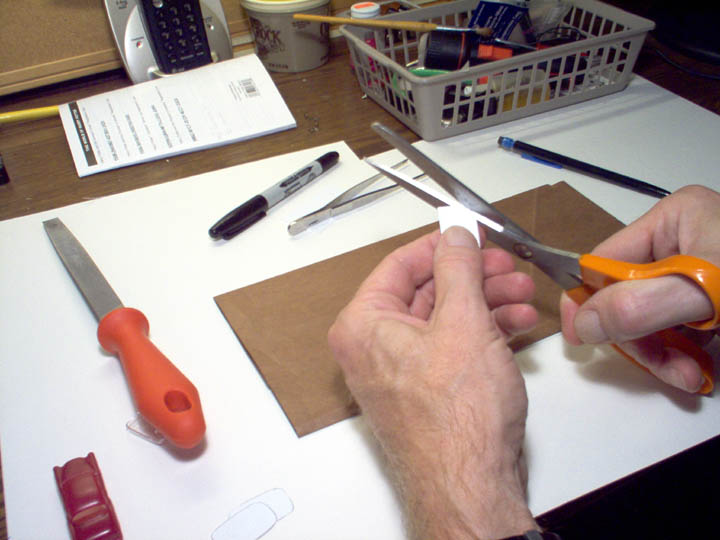
I used a good pair of scissors to cut around the outline of the interior base. This thin styrene cuts easily and the first cut only had to be 'approximate'.
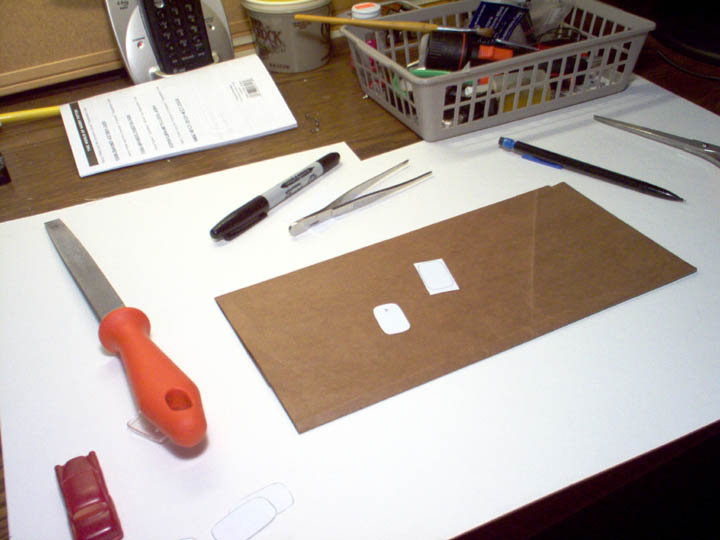
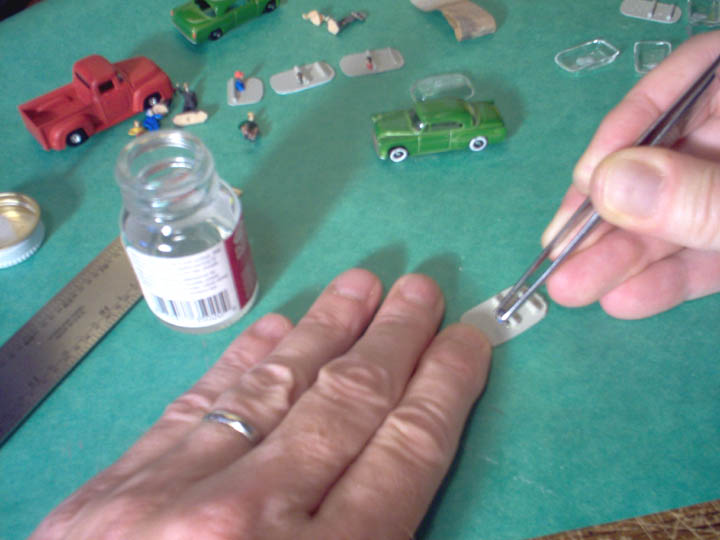
You can see the cut-out base next to another blank. I made 6-bases. Each was filed and fitted flush with the bottom of the windows inside the automobile body shell. It took some fiddling, but not a lot of time. After I was satisfied with the fit I marked each base with an arrow for easier alignment in the car/truck body during final assembly. To locate my seat backs inside the car, I positioned the base inside the body shell and marked my desired seat locations with a pencil. I repeated this same process for the pickup truck.
Since my interiors were 'mock ups' and not full blown auto interiors, I looked in my stock of styrene shapes for something to use as my pseudo seat-back tops. Since I was out of small diameter half-rounds, I settled for .080-inch styrene rod. For the back seats in the coupes the seat backs were 7/16-inches long. For the front seats the rod was cut to 1/2-inches long. The pickup's seat back was 9/16-inches long. I scored the rod with a #11 X-Acto knife and snapped the rod at the desired lengths.
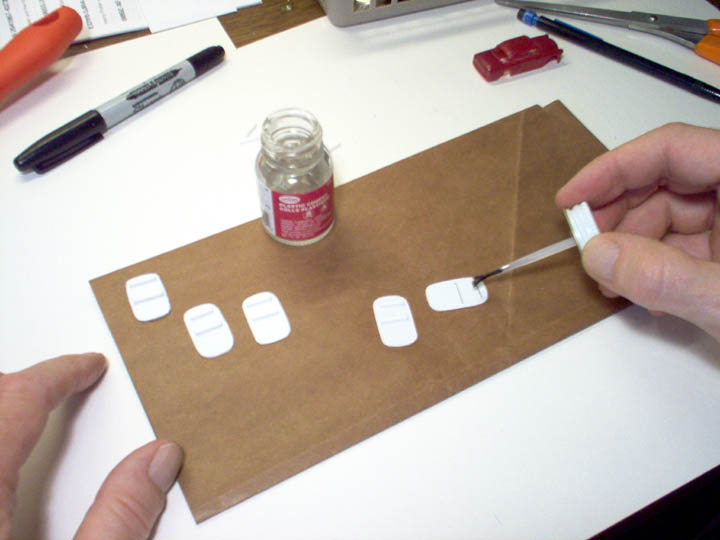
I applied a little Testors liquid plastic cement just ahead of the pencil lines marking the seat back locations on the interior base to soften the styrene sheet a little.
I positioned and held each seat back in place on the base with a pair of large tweezers. With big fingers and small parts I need something to help hold small parts. Using the tweezers kept me from getting melted styrene on my fingers and making a mess of the assembly process.
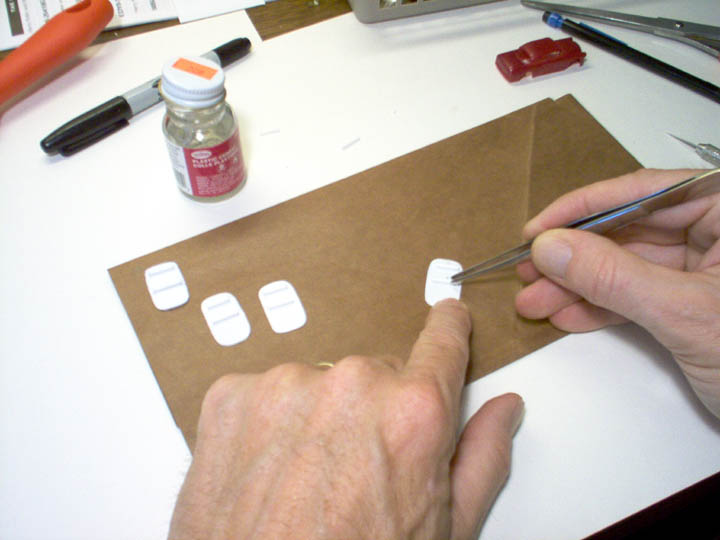
When the cement was dry I test fitted the window assembly over the new seats on the base to ensure proper clearances.
After the assembly of the interior bases, I washed the car/truck body shells in soap and water to remove any finger oils deposited during construction. After air drying for about two hours they were ready for priming and painting. I painted the car/truck bodies with Testors #1246 Metallic Silver from a spray can. The upper surfaces of the interiors were coated with Testors #1233 Flat Light Aircraft Gray from a spray can. The results are shown above.

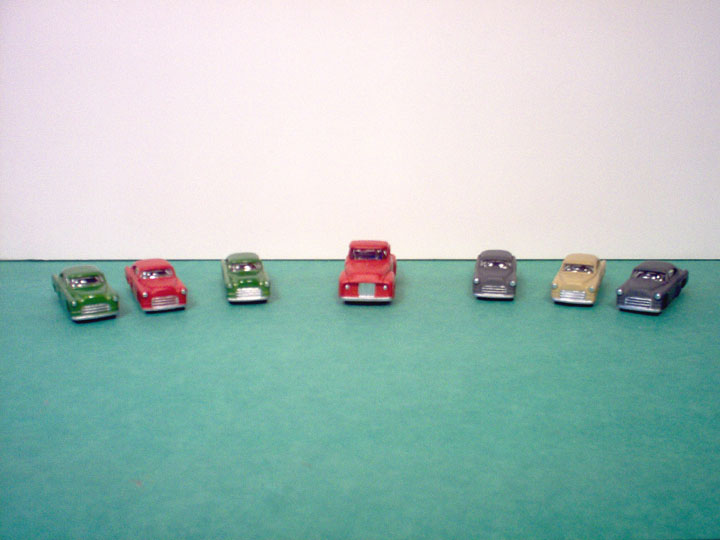
After air drying overnight I airbrushed color coats on five of the cars and the pickup truck. Two cars were painted with Floquil #F110131 SP Lark Light Gray. On one car and the pickup I applied Floquil #F110176 ATSF Red. Two cars were painted with Floquil #F110320 M.K.T. Green. The last car body was painted with Tamiya Light Sand from a spray can. Since these little cars resemble my first car, beige and brown, 1953 Chevy, I decided to paint one in remembrance of it. It has been 30-years since I last used an air-brush. I fear I thinned the M.K.T. Green too much, but I am happy with the results which are shown above.
I wasn't sure of the level of detail I could apply to these little cars. Wide whitewall tires were popular when I was a kid in the 1950s so I decided to try and paint whitewalls on some of the original tires. After some experimentation, I settled on a piece of paint soaked denim for an applicator. After spreading Testors #1258 Flat white paint as evenly as possible on the cloth, I simply pressed each tire into the paint. Although not as cleanly defined as I had hoped, the results, meet my 'good enough' at 3-feet criteria. If I change my mind, the paint wipes off easily with a little thinner on a rag.
Painted headlights, hub caps, bumpers and grilles were applied to all of the vehicles using Testors #1146 Silver and a Superfine Microbrush. My big hands and eyes that are not what they once were, made applying the trim a long process. Painting these small areas was the most tedious part of the whole project.
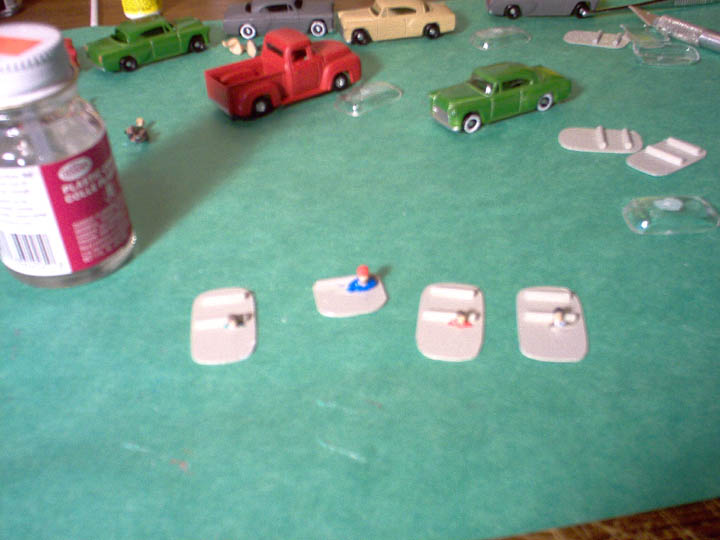
Here are the cars with most of the painted exterior details applied.

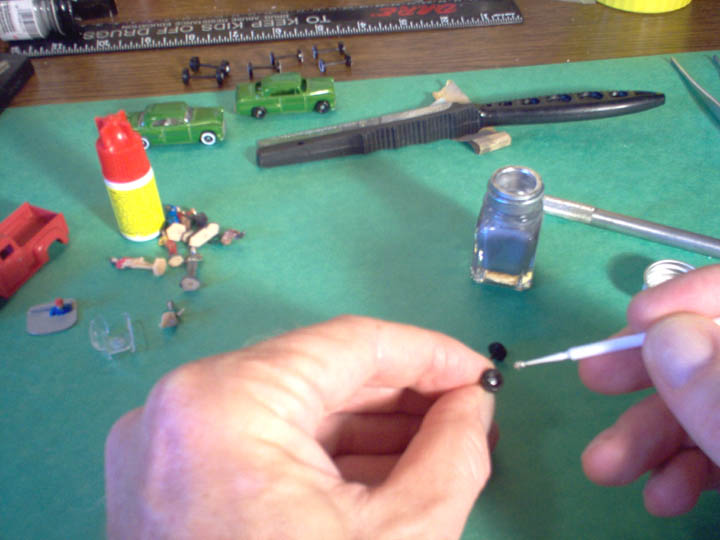
Now that the car and truck bodies are done for the most part, I needed some drivers for the cars and truck. I decided that I would put drivers in three of the cars and the pickup truck. Shown above are my driver candidates. I painted most of the figures here. They started as undecorated Atlas people. Most have now been replaced by better figures on the layout. Some of these cars will be parked on the layout while several will be on the roadways. For that reason I chose just four drivers. This was no great honor because each driver would have to be decapitated to fit into the very small car and truck interiors.
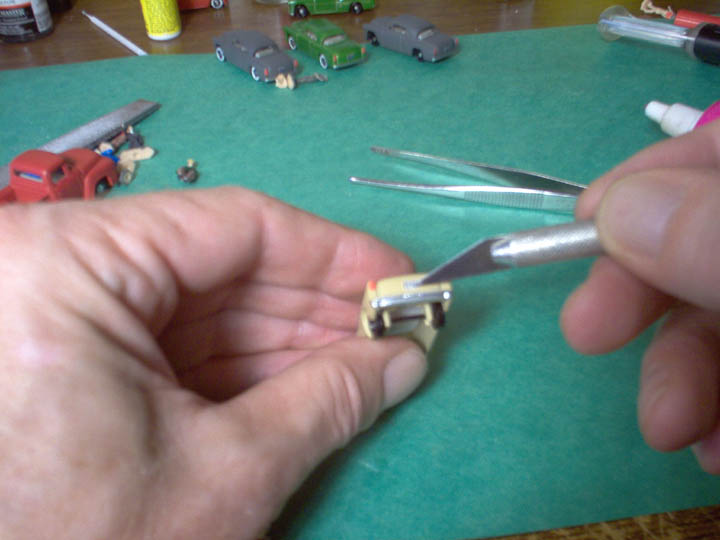
I cut off the head and upper body of each of my driver candidates with my Atlas Super Saw. After cutting, the base of each driver figure was sanded or filed until they fit under the window assembly from the cars.
After applying a little Testors liquid plastic cement, I used tweezers to place each driver in the driver's position on the interiors.
Here are the driver equipped interiors ready for installation in their respective car or truck. To assemble the vehicles I glued the window assemblies into the body shells with a small drop of Testors cement. Then I glued the interior bases to the bottoms of the window assemblies and set them aside to dry.

When the glue for the interiors was dry, I painted taillights on all of the cars using a DecoColor, Fine Line, red paint marker.
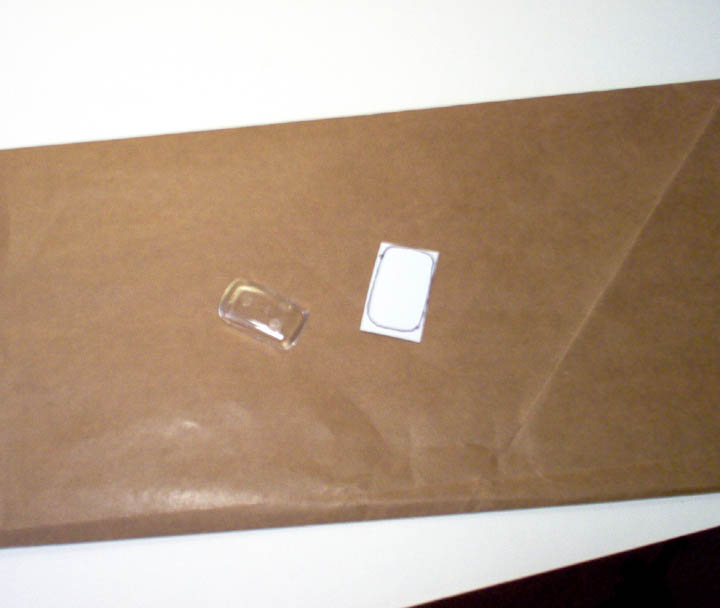
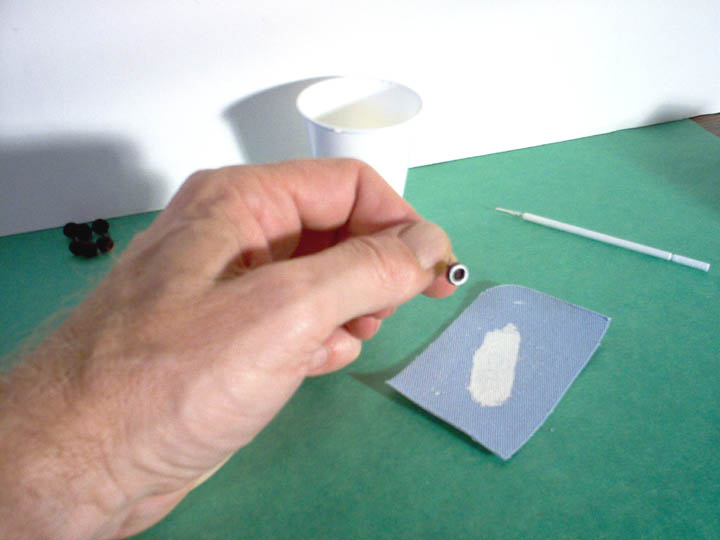
Since I didn't have any license plate decals, I searched on the Internet for a source for license plates. I finally found a site with 1955, 56, and 57 Ohio license plates. They even had a 1957 Michigan plate for my 'memorial car'. I downloaded the images of the license plates, reduced them to HO-scale and printed them on regular paper because the photo paper I had was too thick. While not laser quality, the numbers on the plates are legible through a low powered glass. After cutting the plates out of the printed sheet, they were applied with a small drop of Shur-Stik #66 Wallcovering Seam Adhesive as shown.
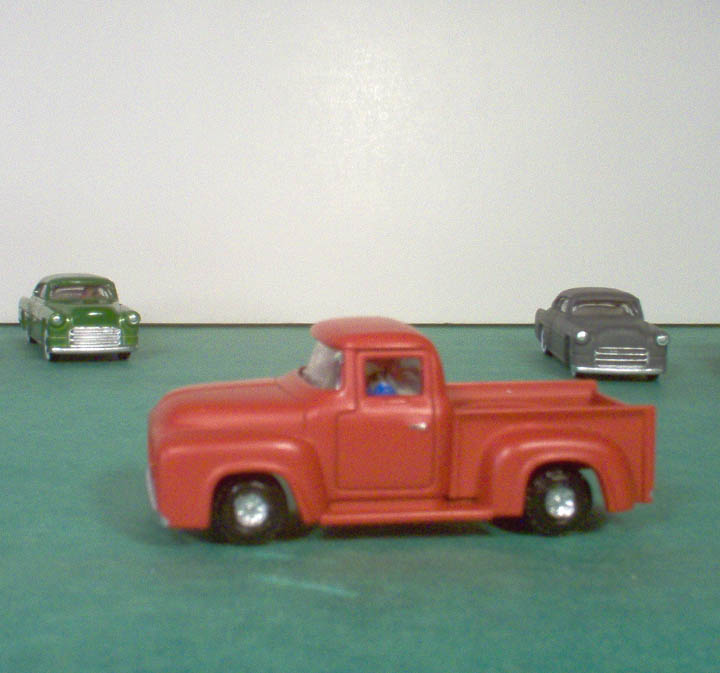
Here's a side view of the completed ATSF red pickup truck with its driver visible through the side window.
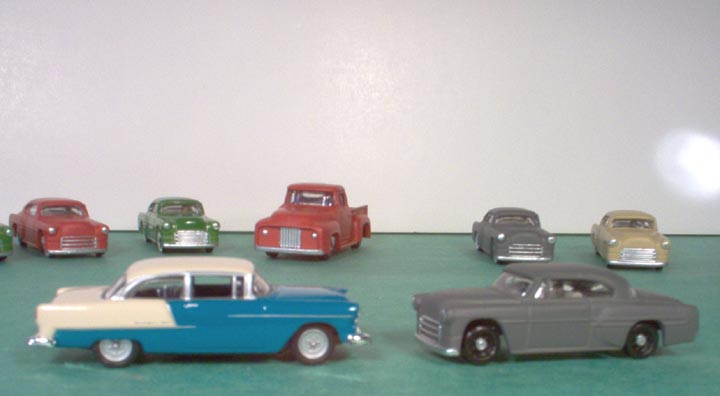
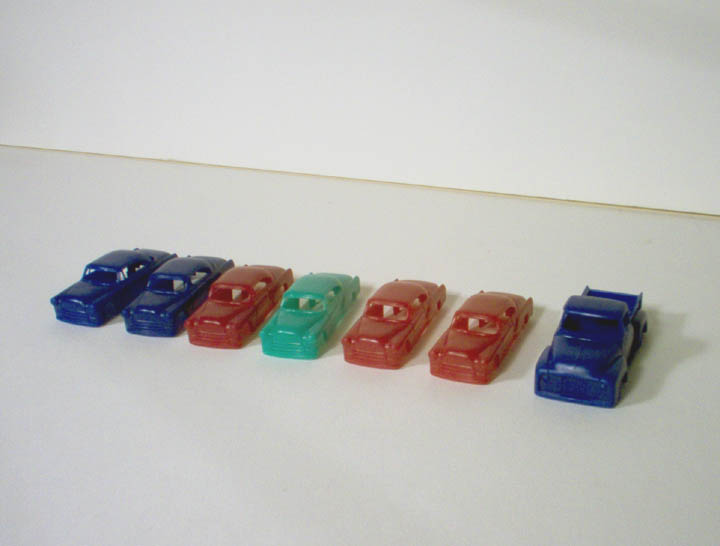
The turquoise and white 1955 Chevy is a Model Power Mini, HO-scale car. The other vehicles are the results of this project. I think they meet my goal of 'respectability' and 'good enough' at three feet.